
Summary
– You can connect Shopify data to Google Sheets automatically by using paid extensions.
– Pull Shopify orders with no code methods to Sheets allowing holistic integration.
– Access the API token to link and sync Shopify data to Google Sheets.
Ecommerce maintenance takes hours to do. You want more time to strategize, not crunch numbers. If you maintain a Shopify website, you don’t experience any efficiency. You’re juggling different things at once so you want to do reports fast.
Requirement: Shopify API Token
You need to access the Shopify API Access Token to import the data into Google Sheets. First thing is to go through your Shopify admin. That these steps don’t require coding knowledge or programming skills at all. Luckily, creating the Shopify API is within reach and easy to do.
Allow Custom App Development
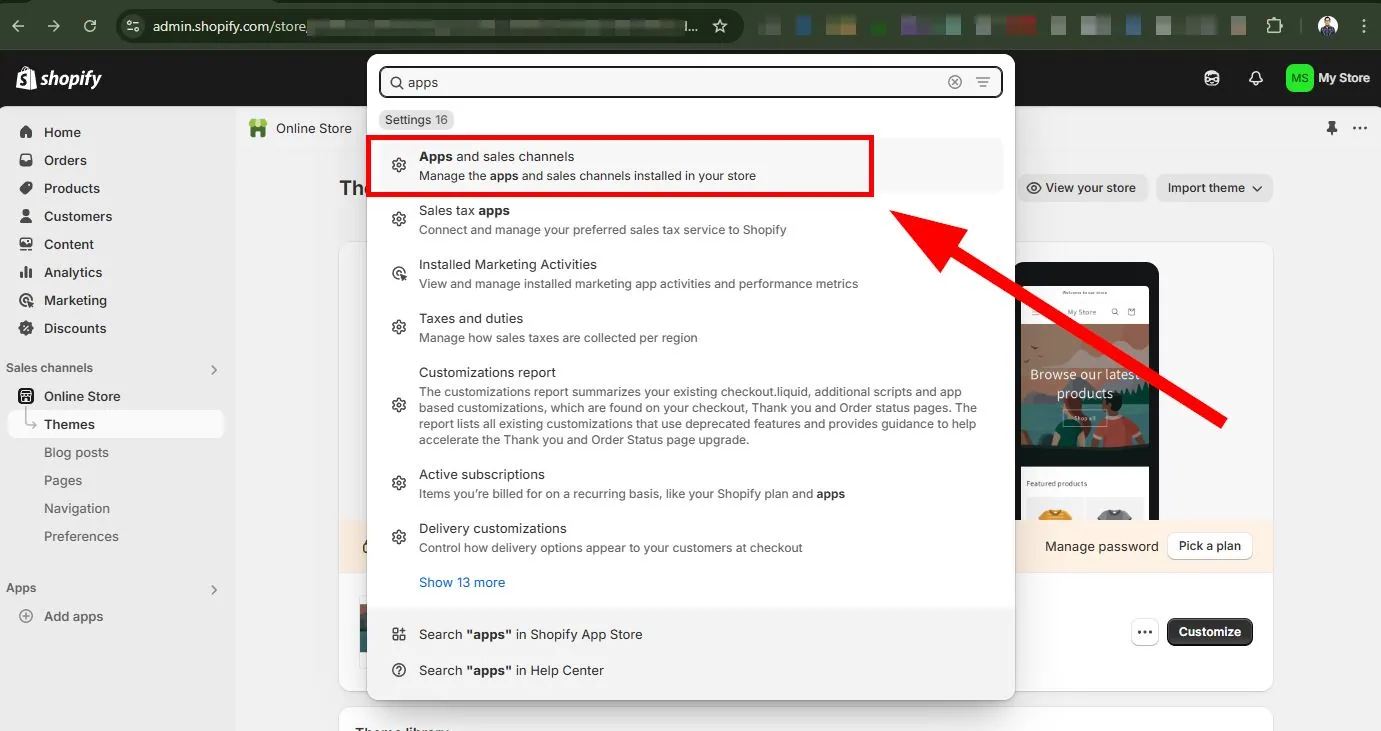
1 – Go to your Shopify admin dashboard. Search for apps and select Apps and sales channels.
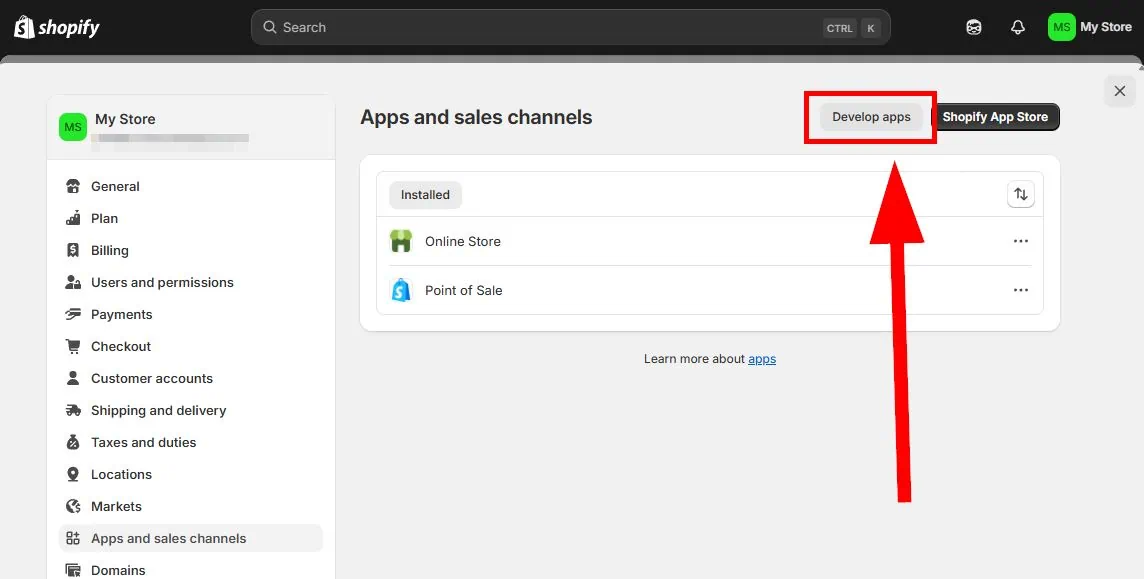
2 – Once inside the Apps dashboard, click on Develop apps.
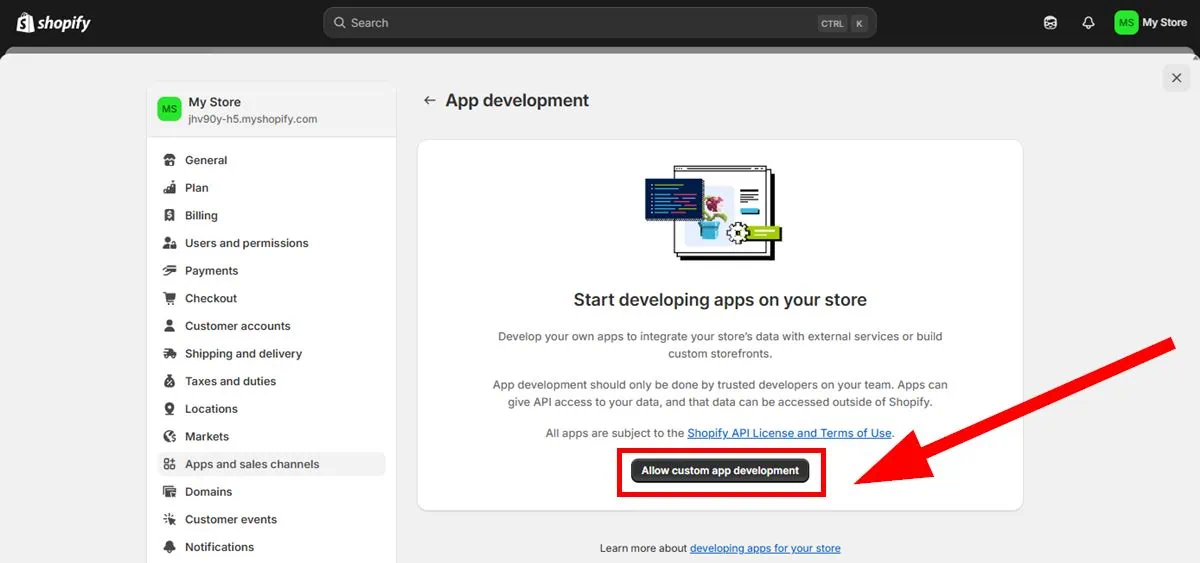
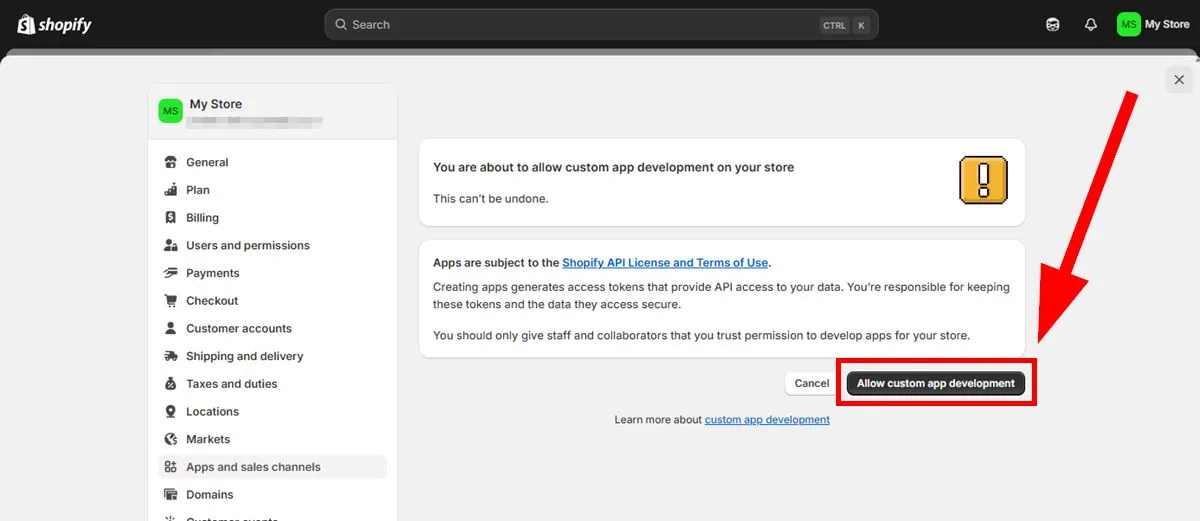
3 – If this is your first time creating an app, click on Allow custom app development.
4 – Click on Create an app.

5 – Name your app. Then click on Create app.

Configure API Scope and Create API Token
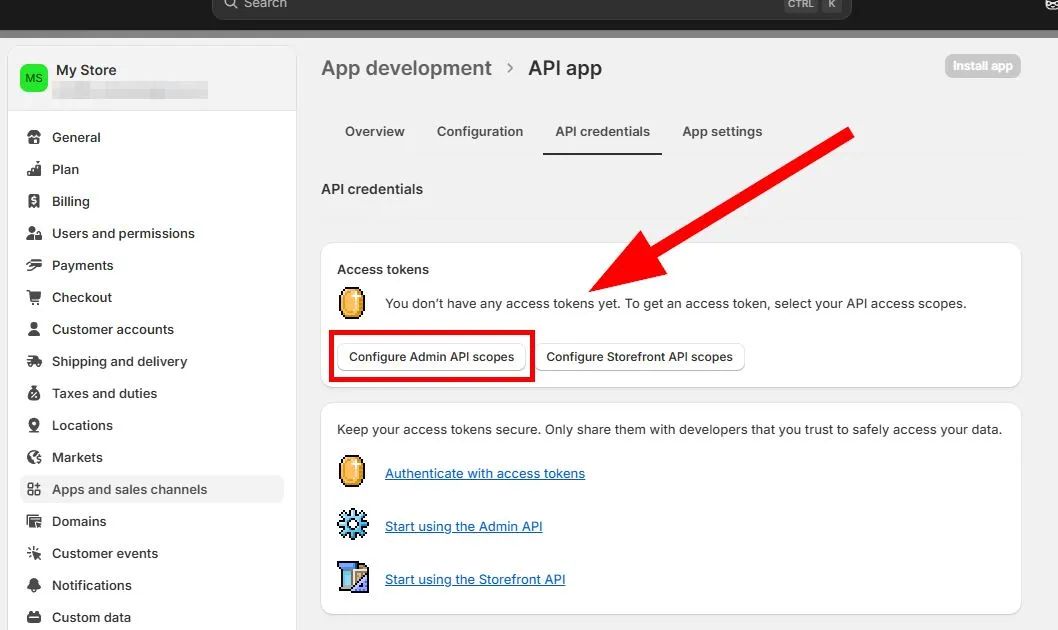
1 – Click on Configure Admin API scopes or Configuration in the navigation tab.
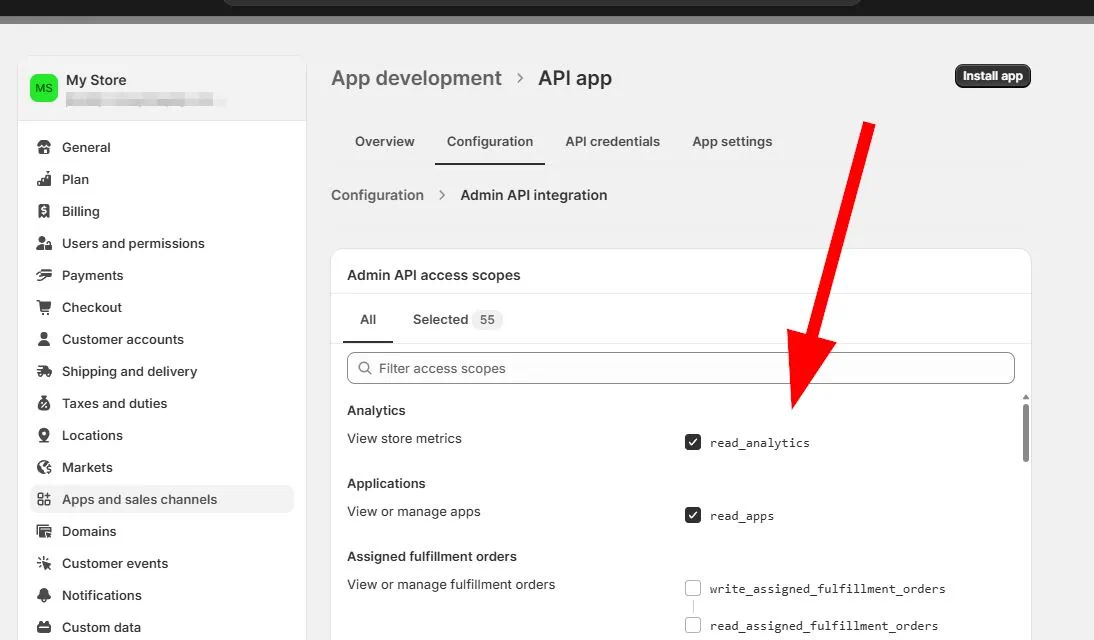
2 – Once in side, tick all parameters with read_. This gives permission to various end points from your Shopify store and allow the data to be shared.
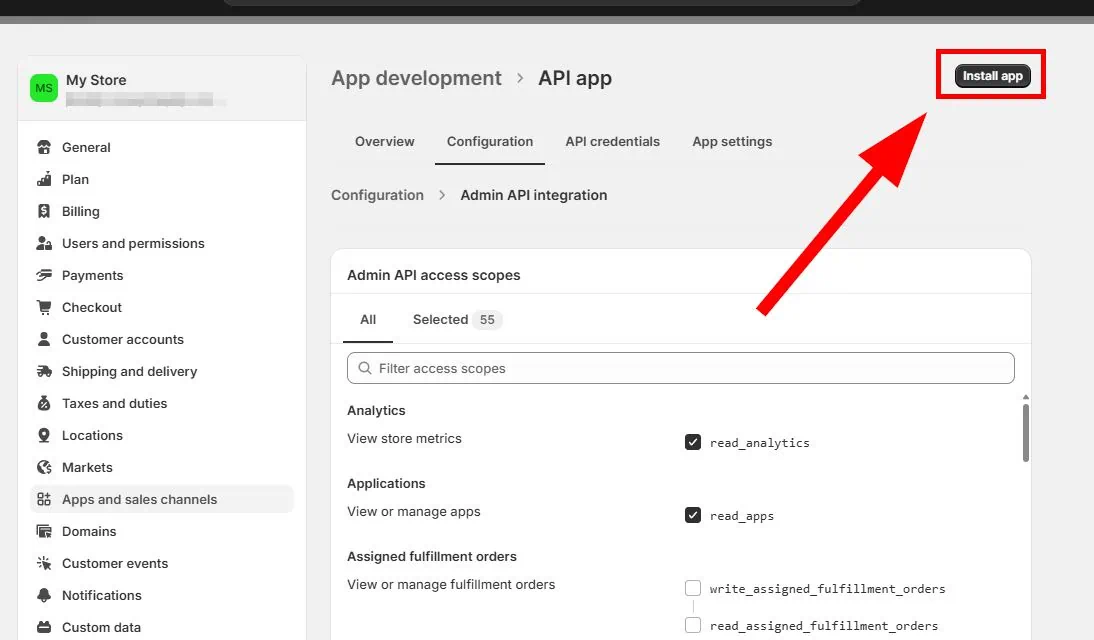
3 – After checking the boxes of all read parameters, click on Install app at the of the page.
4 – Click on Install to accept the terms and conditions and to finally access the API token.
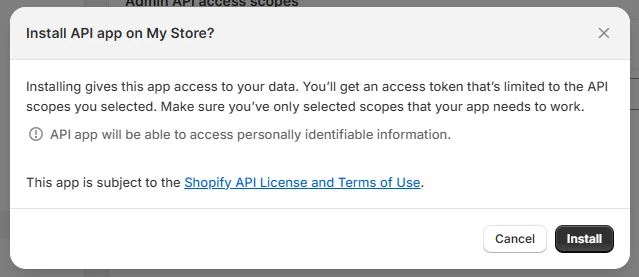
5 – API access token is now available.

We’re done accedss the Shopify API Key! Now let’s import data to Google Sheets…
How To Import Shopify Data To Google Sheets
This article shows two options on how to import Shopify orders to Google Sheets. Option 1 is using a Google Sheets extension. Option 2 is using a 3rd party integration tool. No required coding skills.
Option 1: Google Sheets Extension
You’ll use Two Minute Reports for this example. TMR imports data from the Shopify API directly to Google Sheets in minutes. Another Google Sheets extension to use is Supermetrics.
Installing The Google Sheets Extension
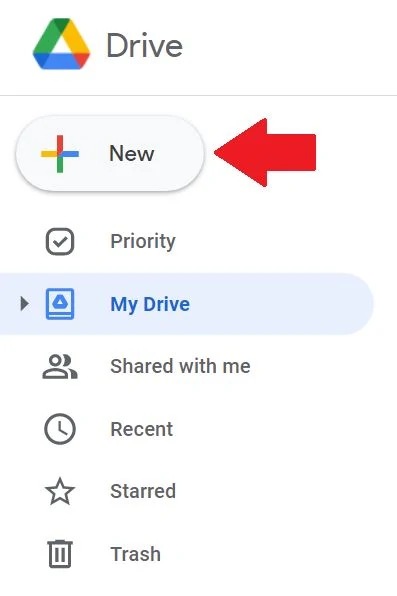
1 – Go to your Google Drive workspace.
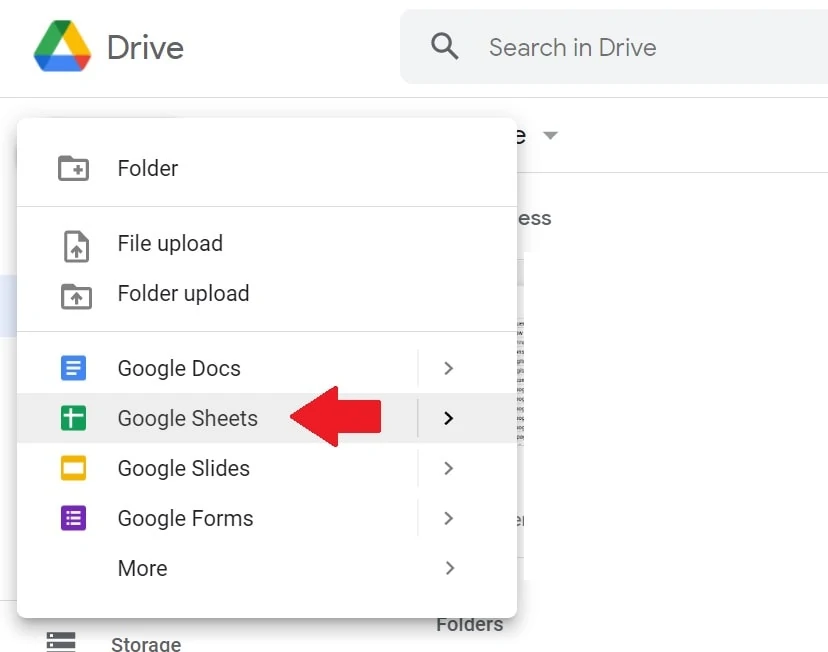
2 – Click + New then create a new Google Sheets file.
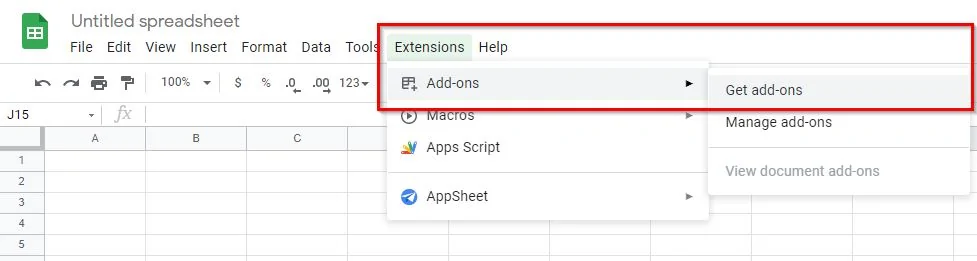
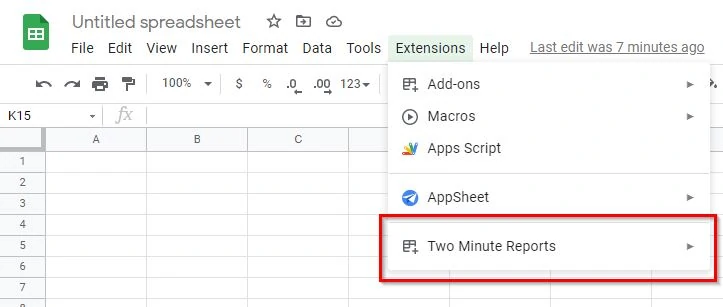
3 – At the top of your file, click on Extensions. Then click on Add-ons. Then click on Get add-ons.
4 – Search for Two Minute Reports. Then install it.
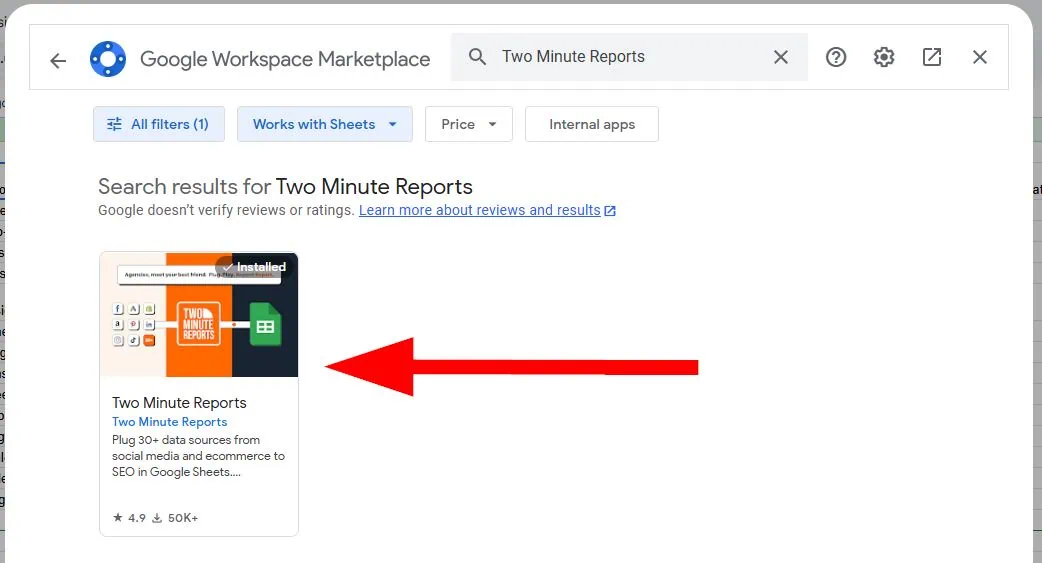
5 – You now have the extension installed on your Google Sheets file.
Import Shopify Data Source
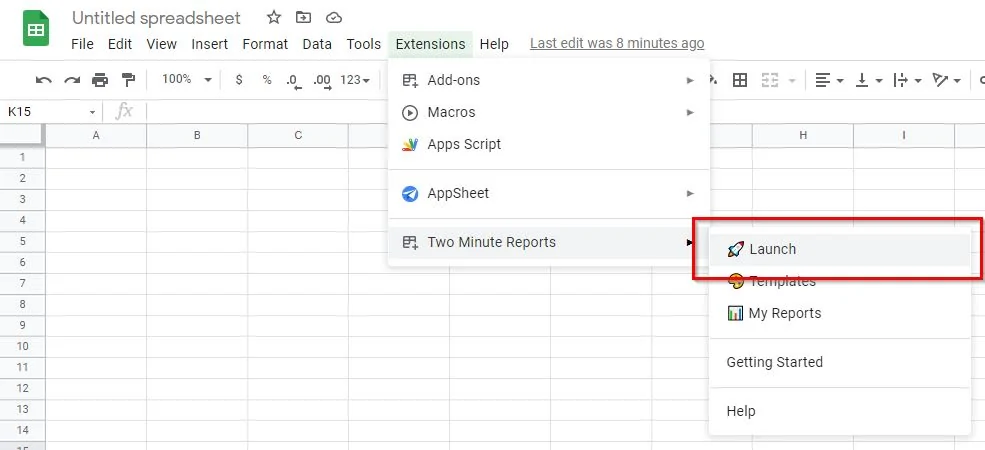
1 – Launch the extension. A navigation pane on the right side appears.
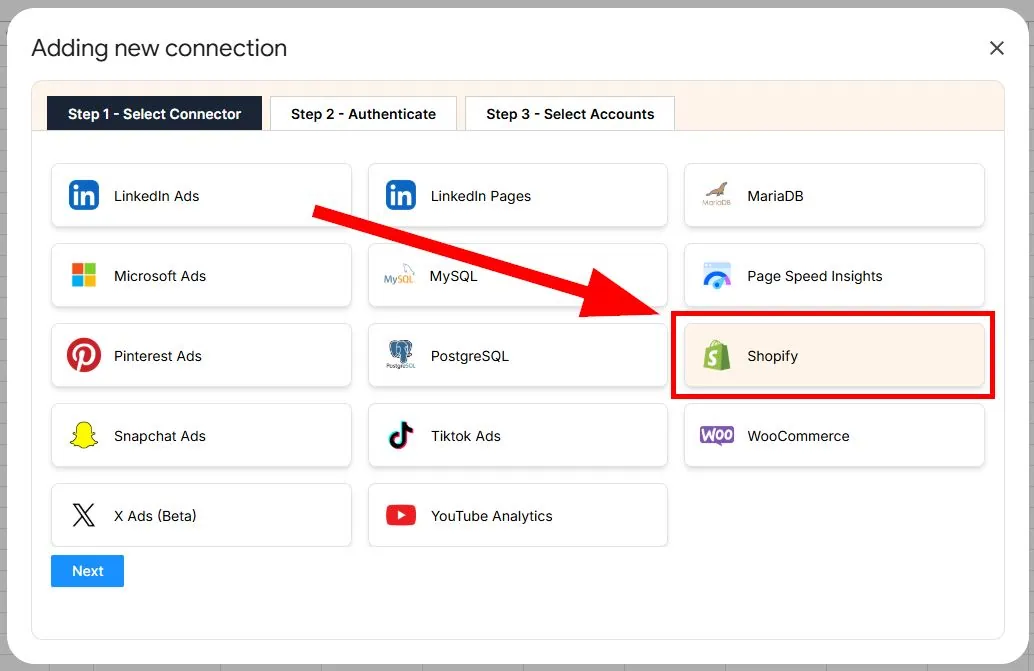
2 – Click on MENU then click on Connections then clickc on Add +.

3 – Select Shopify.
4 – Follow the steps for authentication.
Name the connection
Under Select app type, select Method 1 – fo Shop admins.
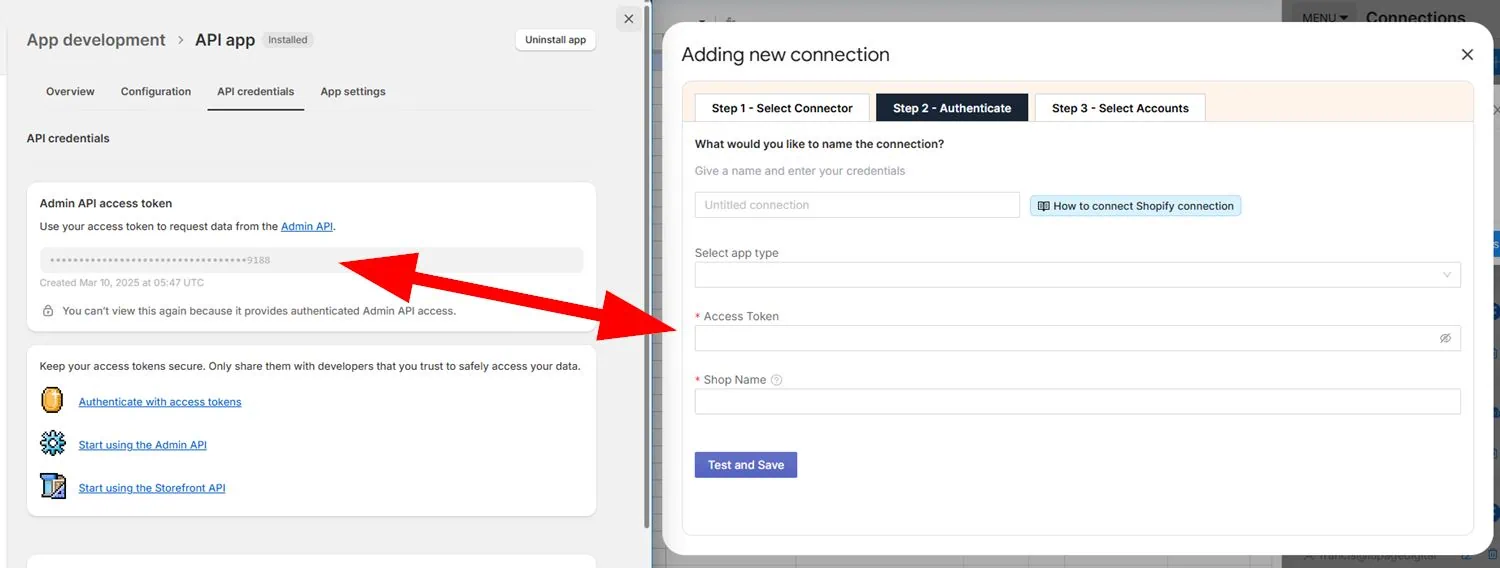
Under Access Token, enter the Admin API access token from earlier.
Under Shop Name, enter the store domain. If your shop is https://yellowbananas.myshopify.com, the Shop Name is yellowbananas.
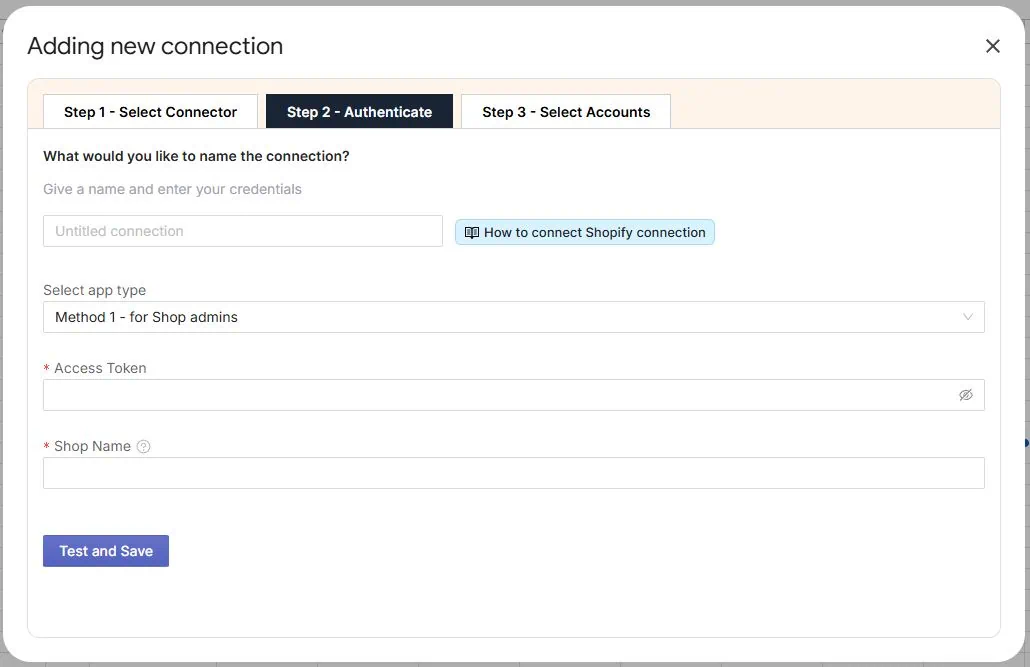
8 – Click on Test and Save. You should get a Successfully authenticated notification.
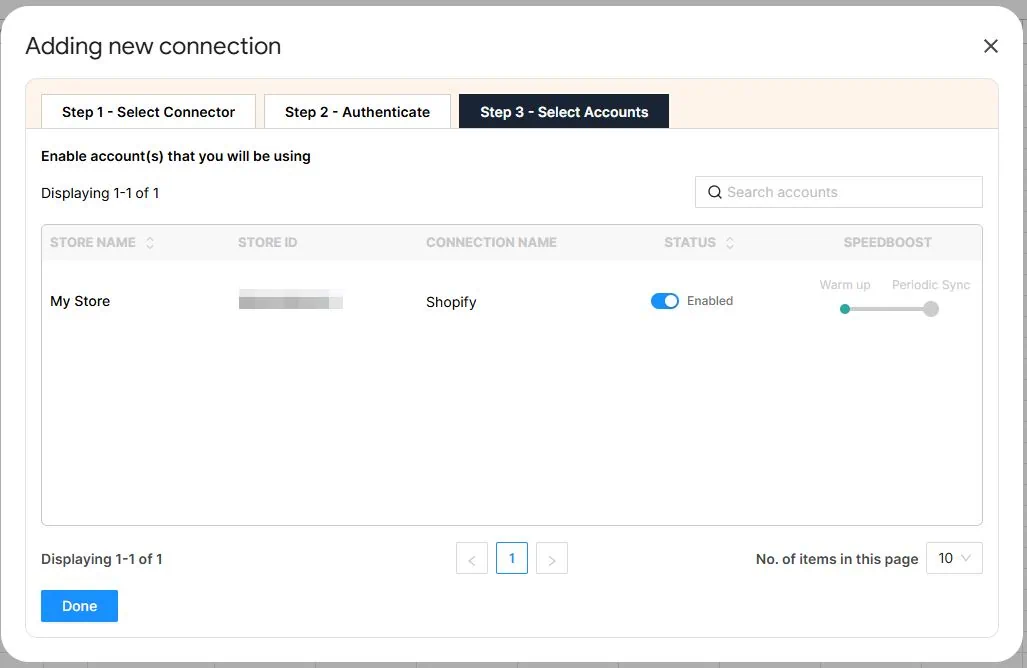
9 – Select the Shopify store you want to get data from. Tick them have them enabled.
Import Shopify Data Query
This point in the process is the importing orders list to the spreadsheet.
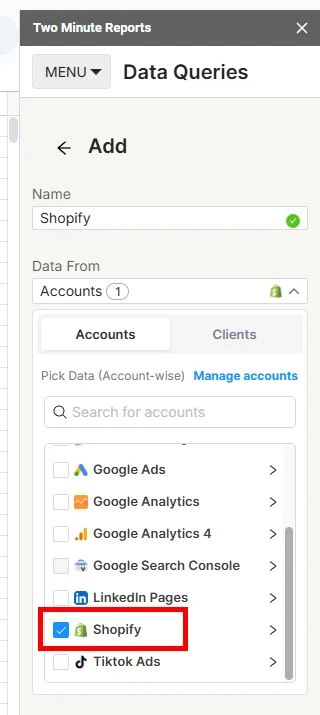
1 – Click on MENU. Then click on Data Queries. And click on Add +.

2 – Name your data query. Then find the Shopify shop you connected earlier.
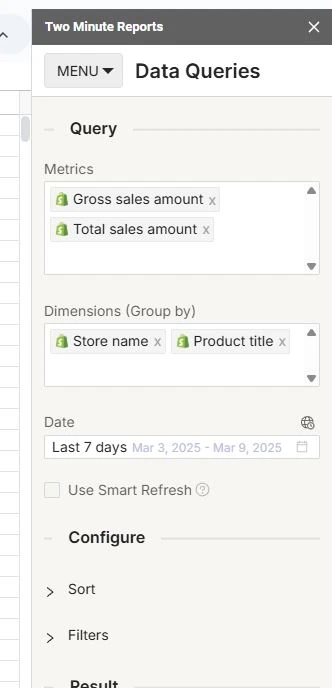
3 – Under Query, enter the following details as examples.
MetricsGross sales amount
Total sales amount
Dimensions (Group by)Store name
Product title
Under Date, select the date range you want to get data from.
You may ignore all other filters in the configuration.
4 – Select the sheet where you want to report the data. Add A1 under Cell.
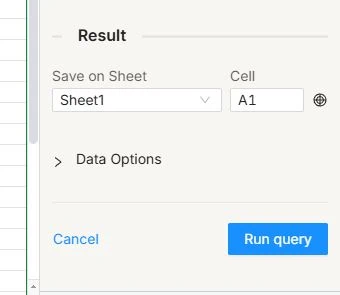
5 – Click on Run query.

Done! You imported the orders data on a Google Sheet. These are the first steps in pulling in any important data from the Shopify API. At this point, you may take the steps on accessing your required data. You can import Inventory value, Customer count, Refund amount, Order ID, and many others.
Schedule Shopify Reports
Two Minute Reports has a scheduling function. This means the spreadsheet refreshes the acquired data from the API. Reports are automated even more.
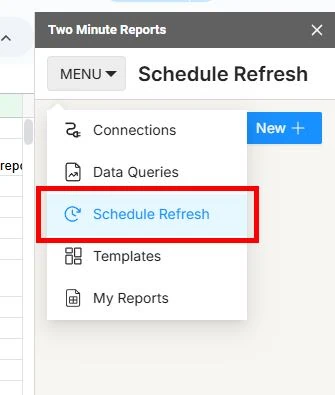
1 – Click on MENU. Then click on Schedule Refresh.
2 – Click on New +.
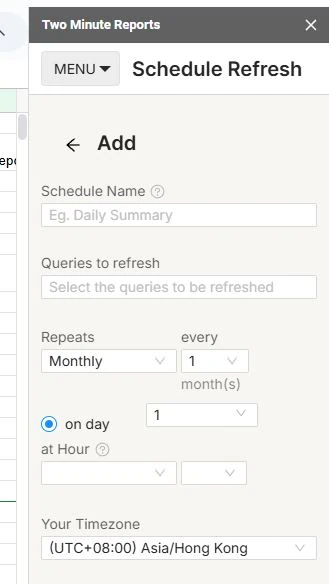
3 – Once inside, you can set the terms of the report schedule.
-Name
-Repeats: This is where you set how often the data refresh happens. Two Minute Reports can do hourly refreshes.
-Timezone
4 – You can also set the notification terms. Two Minute Reports can email you a PDF or Excel of the data. You can also decide to have the email contain the sheet content in the email body.

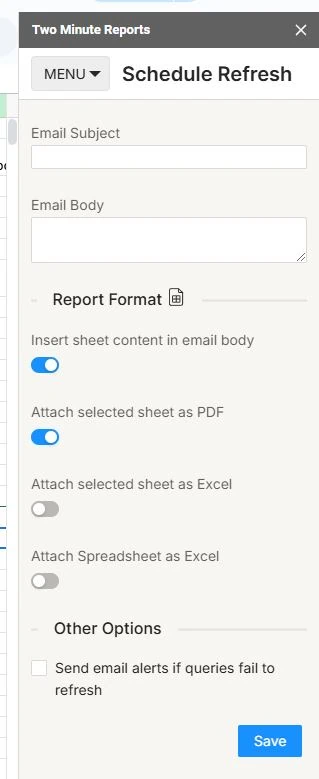
5 – Click on Save.
Scheduling helps when you need to report on overtime. No more copy and paste manual reports every day, or every week, or every month.
Option 2: Third-Party Integration Tool
You’ll use Make for this option. Make is a powerful integration platform that allows you to visualize, design, and automate your work in minutes. In other words, it lets apps talk to each other so that you can remove repetitive tasks.

Create a Make account and get started.
Getting Started
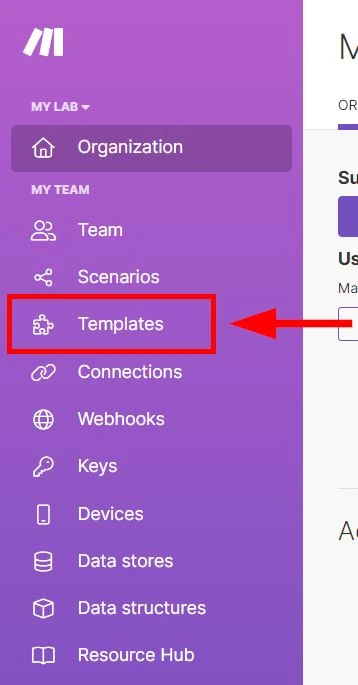
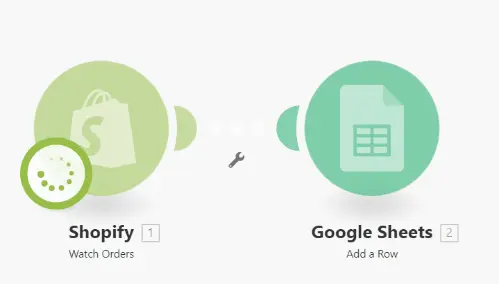
1 – Click on Templates. The tool already has a template since this scenario is a standard case.
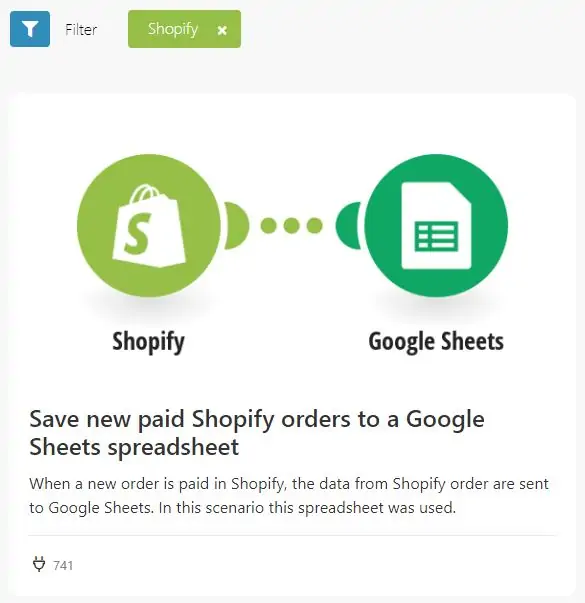
2 – Search and click on the Shopify Google Sheets template.
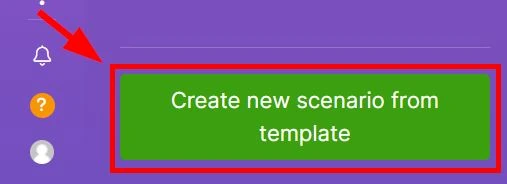
3 – Click on the Create new scenario from template button from the lower left of the page.
Setting Up Shopify Connection
The first section is setting up the Shopify connection.
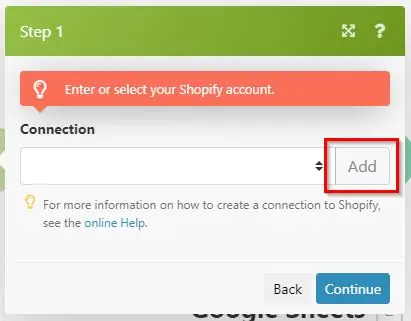
1 – Under Connection click on Add.
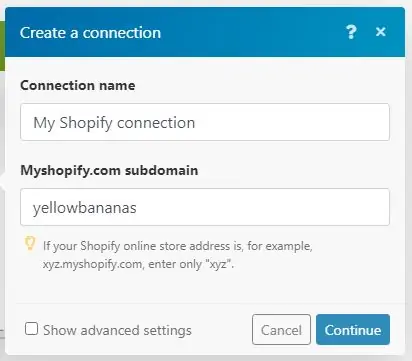
2 – Under Connection name, name the connection. The name is arbitrary so it’s up to you. But I suggest writing a descriptive name for later use.
3 – Under Myshopify.com subdomain, enter the subdomain of your Shopify store.
If your Shopify store is called yellowbananas.myshopify.com, enter yellowbananas.
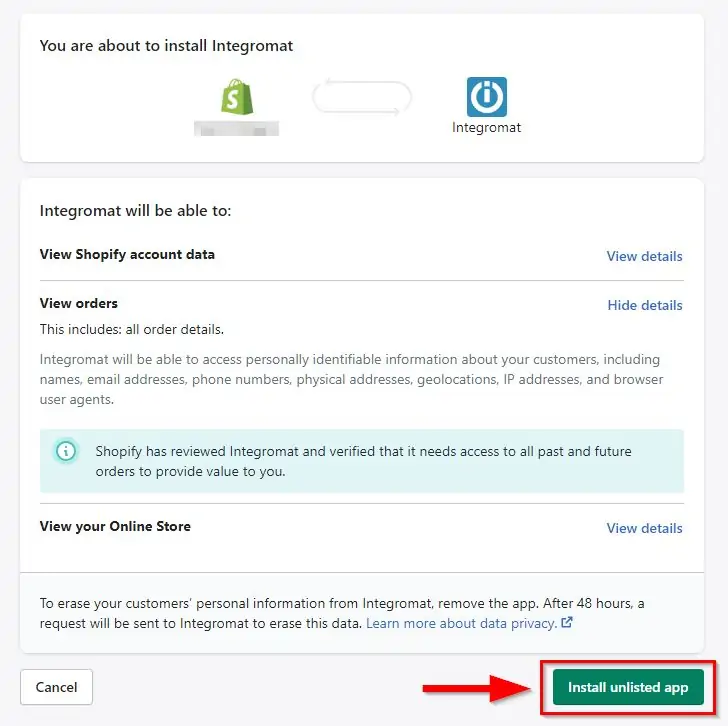
4 – Click on Continue. A window pop-up appears that leads to your Shopify dashboard.
5 – In Shopify, click Install unlisted app. This gives Integromat access to your Shopify account. This is standard procedure. The window closes after clicking on it.
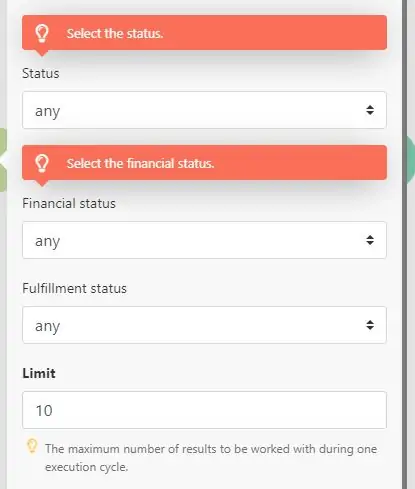
6 – Under Status, select any. Other choices include open, close, cancelled.
7 – Under Financial status, select any. Other choices are available.
8 – Under Fulfillment status, select any. Other choices are available.
9 – Under Limit, enter 10 for now.
The examples above are for the purpose of this article, so it depends on your use cases. There may be advanced settings. Ignore those for now.
9 – Click on OK.
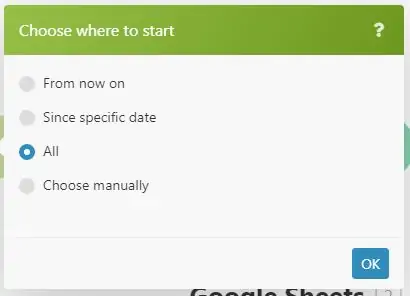
10 – Under Choose where to start, if it appears, select All.
Done! At this point, you’re finished with the Shopify connection side. The tool prompts you if there are missing values in the fields.
Setting Up Google Sheets Connection
Next is setting up the Google Sheets connection. But first, you need to go to Google Drive and create a new Google Sheets file.
1 – Go to your Google Drive workspace.
2 – Click on + New then create a new Google Sheets file.
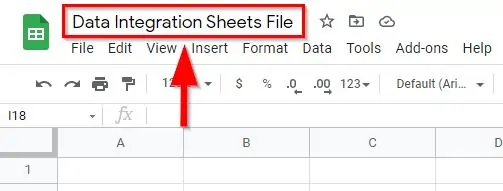
3 – Name the Google Sheets file. The name is arbitrary so it’s up to you. But I suggest writing a descriptive name for later use.
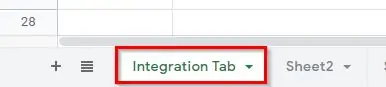
4 – Name the tab or sheet on the bottom. The name is arbitrary so it’s up to you. But I suggest writing a descriptive name for later use.
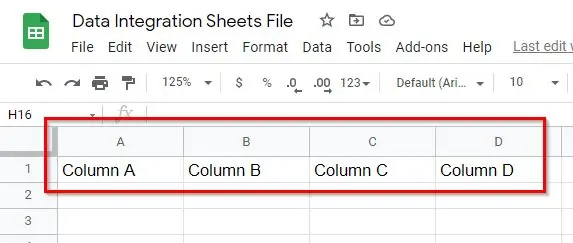
5 – Name the headers. It’s helpful to map out the correct data point in the integration process later.
Column A
Column B
Column C
Column D
The first steps are done! Go back to Make.
1 – Press right-click. Click on + Add a module. Or you can double-click then click on the HUGE circle with a PLUS SYMBOL.
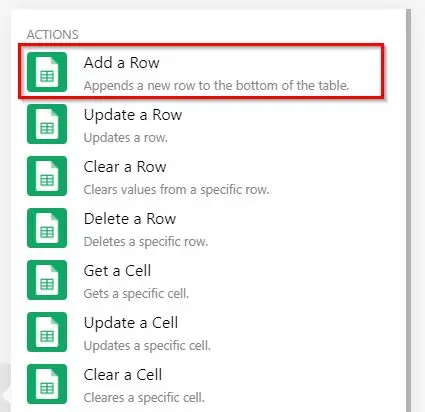
2 – Search for Google Sheets. Then select Add a Row.
3 – Under Connection, click on Add or Create a connection.
4 – Name the connection. The name is arbitrary so it’s up to you. But I suggest writing a descriptive name for later use.
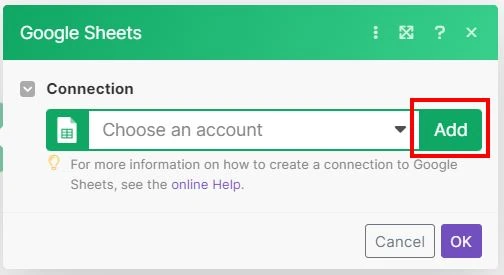
5 – Click on Continue or Sign-In. A pop-up window appears.
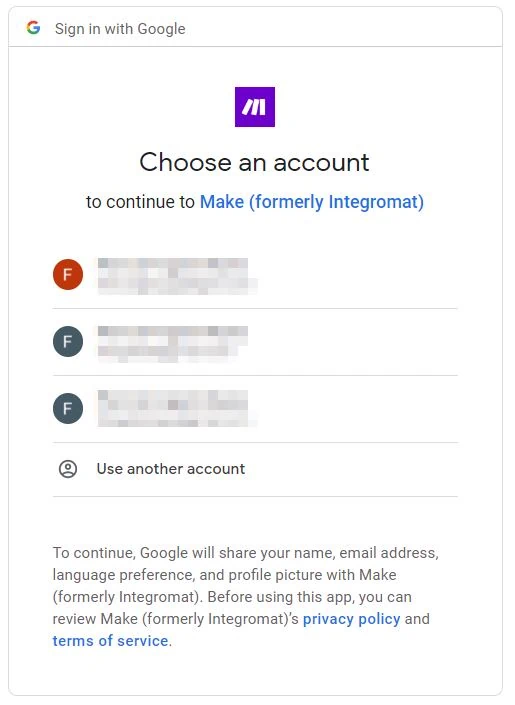
6 – Inside the pop-up window, select the Gmail account that stores the Google Sheets file.
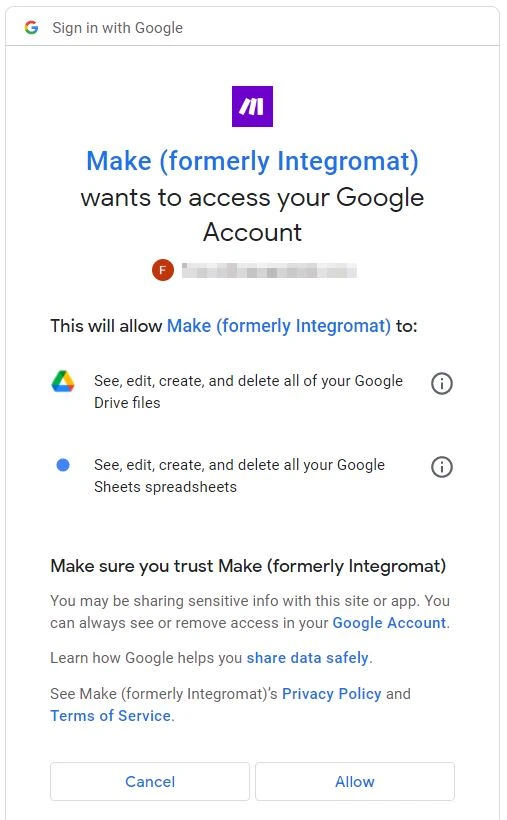
7 – Click on Allow. Make asks permission to access your Google account. This is standard procedure. The window closes after clicking it.
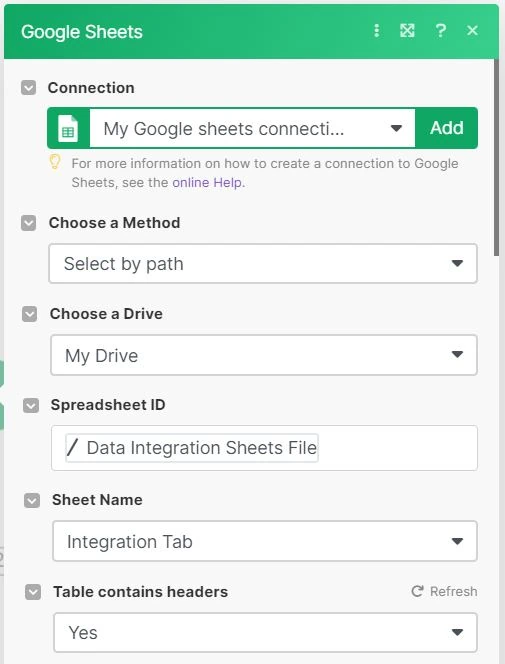
Back in Make you add the additional parameters.
8 – Under Choose a Method, choose Select by path.
9 – Under Choose a Drive, select My Drive. The spreadsheet you created earlier is likely located here.
10 – Under Spreadsheet ID, select the Google Sheets file you created earlier. Find the name you gave it.
11 – Under Sheet Name, select the Google Sheets tab from earlier. Find the name you gave it.
12 – Under Table contains headers, select Yes.
After which, the Values are created.
13 – Under Values is where it gets tricky. The headings from the Google Sheets file are the parameters where you decide the values. Once you click on the field, you’re presented with different parameters. Don’t be overwhelmed. Read the context of the parameters to know which one is mapped to which.
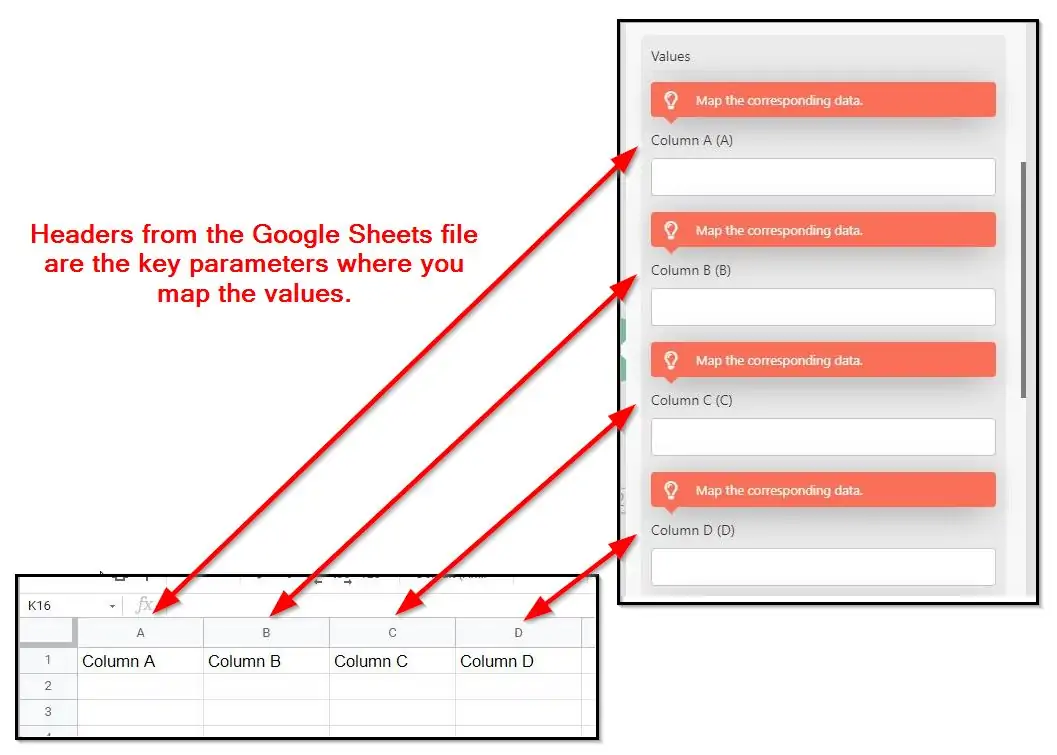
Under (A), select Created at.
Under (B), select Order ID.
Under (C), select Fulfillment status.
Under (D), select Total price.
The parameters that appear here are from the connection you added earlier. Other parameters are also available. Make sure to add an extra column and name it on the Google Sheets spreadsheet so on and so forth.
14 – Click on Ok. Now it’s time to run and process the integration.
15 – Click on Run once with a play button icon.

A spinning wheel and a Log on the bottom right appear. Wait for the integration to finish. How long the integration takes depends on the Maximum number of results you select. It’s finished when a) green checkmarks appear, and when b) The scenario run was completed appears in the Log.
Go to your Google Sheets file and you now see the ecommerce data successfully exported from the Shopify API. Viola! Congratulations you imported Shopify orders to Google Sheets with complete information! You may also add other parameters or fields if you need them.
Schedule Automation and Reports
Make can schedule the automation based on cycles. The schedule is up to you.
1 – On the screen, click on the Scheduling button and turn it on.
2 – Under Run scenario, select the schedule you need. What you select on this parameter dictates the next ones.
If you select At regular intervals, you need to select the minutes that Make processes the automation.
If you select Once, you need to select the date.
If you select Every day, you need to select the time.
If you select Days of the week or Days of the week, you need to select the days.
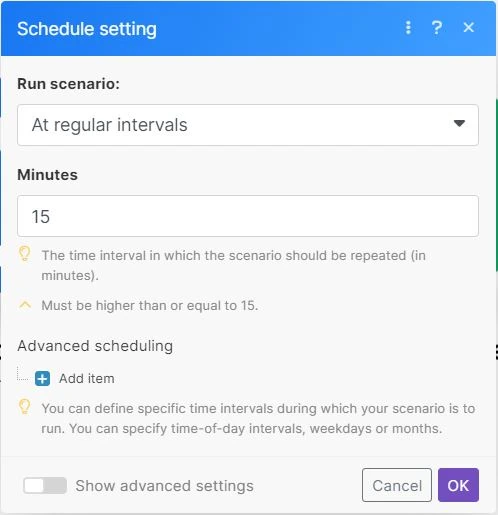
3 – Click on Ok. Ignore any advanced settings for now.
Viola! Congratulations! You now know how to import Shopify orders to Google Sheets with the API. The methods above automate accessing data without manual import and export. It avoids spreadsheet headaches.
More articles on automation:
Import Facebook Page Insights to Google Sheets
Import LinkedIn Page post data to Google Sheets
Import LinkedIn Ads API data to Google Sheets
Import Search Console Data to Google Sheets
Import WooCommerce data to Google Sheets
Import Facebook Ads data to Google Sheets
Import Google Ads data to Google Sheets
Import Mailchimp data To Google Sheets
Import Shopify data to Google Sheets
Import TikTok ads to Google Sheets
Import GA4 data to Google Sheets
Import ChatGPT to Google Sheets
Import JSON to Google Sheets
Export Gmail to Google Sheets
Conclusion: Build Shopify Reports Quickly
Know how to use an API in Google Sheets for your ecommerce needs. Google Sheets is a web-based spreadsheet app that provides an easy way to analyze data. With the help of Google Sheets extensions, you can use external APIs and automate reporting.
You’re wasting time manually importing and exporting data. If you’re an entrepreneur or analyst, automated reporting with updates through APIs makes lives easier.